
Behind The Scenes Art: Start to Finish Painting Mixed Media Art
Start to Finish Painting: Mixed Media Art
I often get asked how I start my paintings, and also- what exactly is mixed media. Answer to both of those is, I don’t know. For me, it always changes.
I am grateful that I thought ahead and managed to start taking pictures of my work to document start to finish, because I seldom know where the piece will end up when I start.
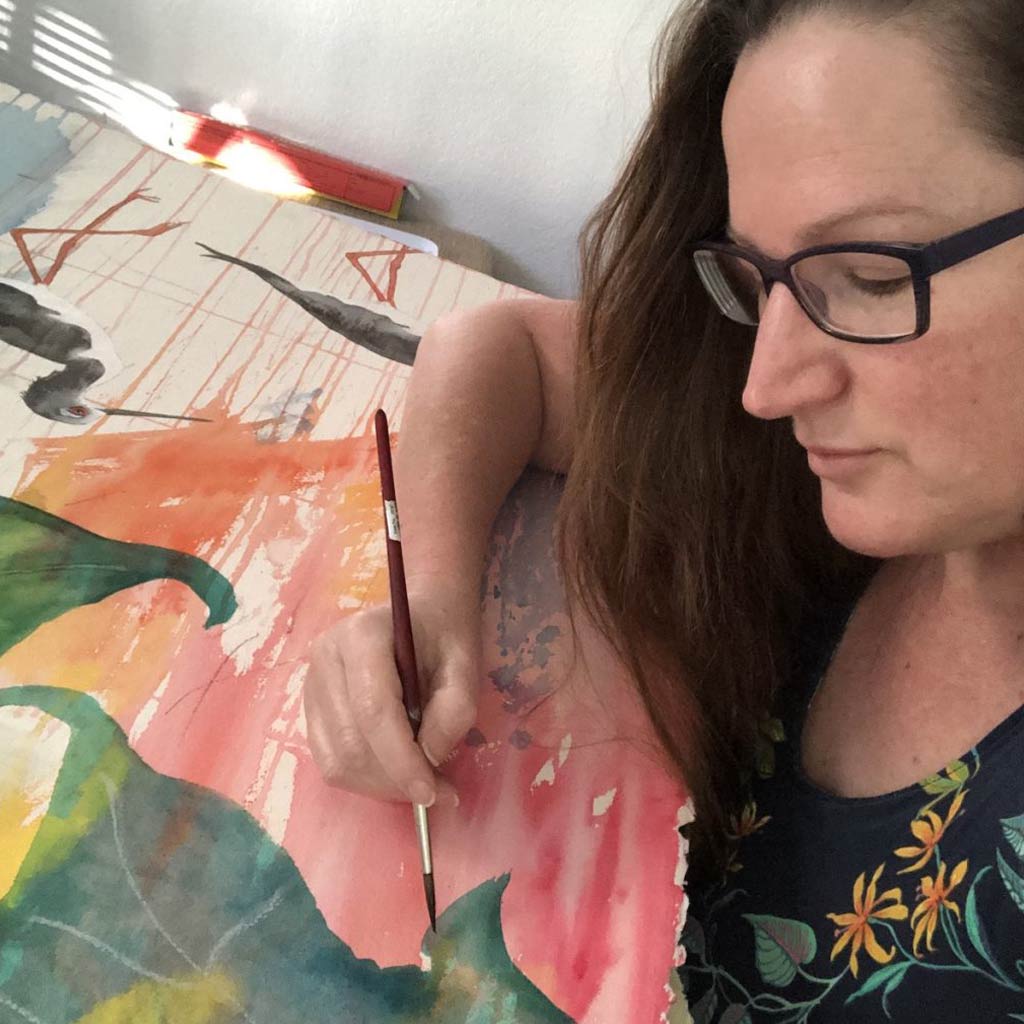
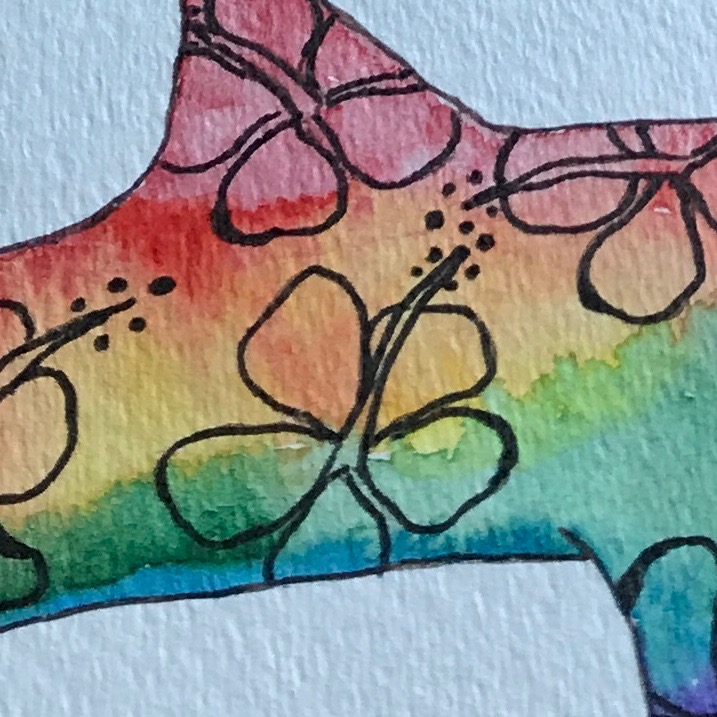
Skip through to the bottom of this article if you want to see a snippet of my painting hibiscus!
Want to order your own surfboard or other Hawaiiana painting? Click HERE for more info. 🙂
Mixed media is defined by the Tate Museum as: “a term used to describe artworks composed from a combination of different media or materials”.
For ME, mixed media means that I might start with an idea of painting with acrylic paints, but then I see a scrap of paper in my supplies and decide to add that- then I will grab for a charcoal pencil to add depth, then maybe smear a bit of gesso over the top of that and add gritty texture to the painting.
Mixed media is loose, in the moment and fun and without rules; whatever inspires you while painting. That is what mixed media means to me.
Here are some behind the scenes moments from the painting I recently completed as a Valentine’s gift. The significance of this longboard painting is that I included ALL Maui memorabilia as that is where my Valentine and I first met…:). This was a painting full of love, aloha and lots of hard work.
Step 1: the background
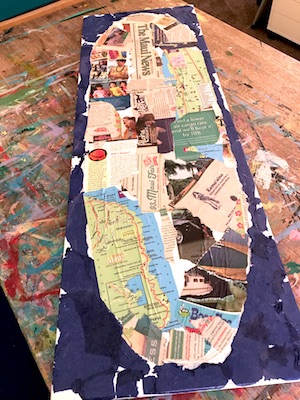
A dear friend Sherrie has brought me back The Maui News and Maui Gold magazines whenever she takes a trip to Maui. I have stockpiled and saved these magazines to use in my artwork; Maui Gold aptly named because those papers are like GOLD to me. 🙂
For step one, I have torn out various bits of random paper from the newspaper and the Maui Gold guide and used Modge Podge to glue them down.
I also added tissue paper for the border around the surfboard. It is a thinner tissue paper and was a bit hard to work with. In the future I will spend a bit more to get the thicker tissue paper.
In the final piece you won’t see the tissue paper but it is a great way to introduce visible texture to the piece after it is covered with a few layers of paint.
After this stage I let the canvas dry overnight.
Step 2: 1st layer of paint
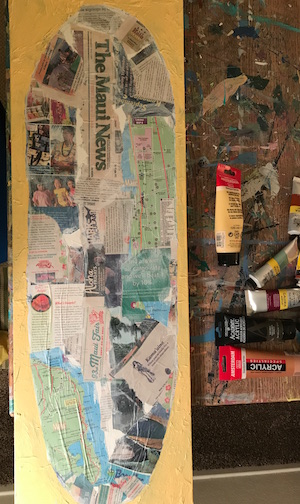
For Step 2, I have used a first coat of Amsterdam Acrylic paint in Naples yellow light. I paint the background surrounding the longboard shape plus all 4 sides of the canvas.
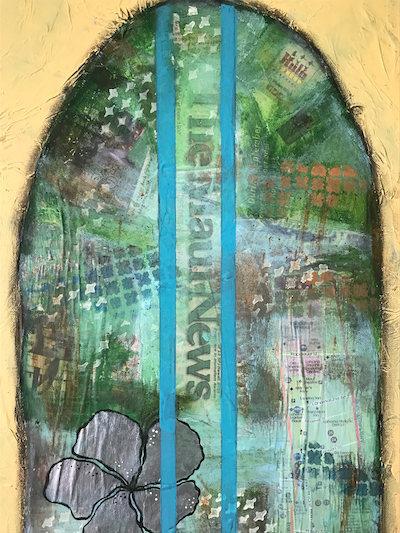
Step 3
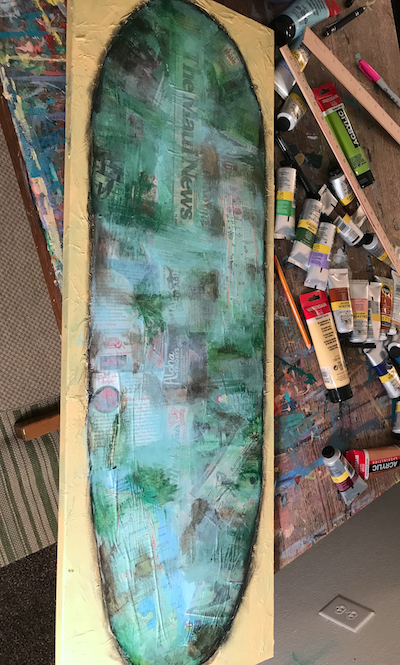
This is when the image starts to take shape.
I first laid down a thin coat of white gesso over the entire longboard shape that was made with the newspaper and magazine bits.
Gesso is a white paint mixture consisting of a binder mixed with chalk and/or gypsum and it gives a “tooth” to your canvas for paint to latch on to. It also helps to unify the entire piece. I used the white Gesso to cover over most of the words and images and just leave a ghost of an image to show through. I let it dry overnight.
Then, I’ve outlined the board with a charcoal pencil that I “smear in” to the painting; rubbing on it after I draw in an outline.
I might add further texture with some stenciling of industrial shapes/hexagons, that sort of thing. Now I also add in some overall color to the piece using acrylic paint in browns/blues/greens and cream.
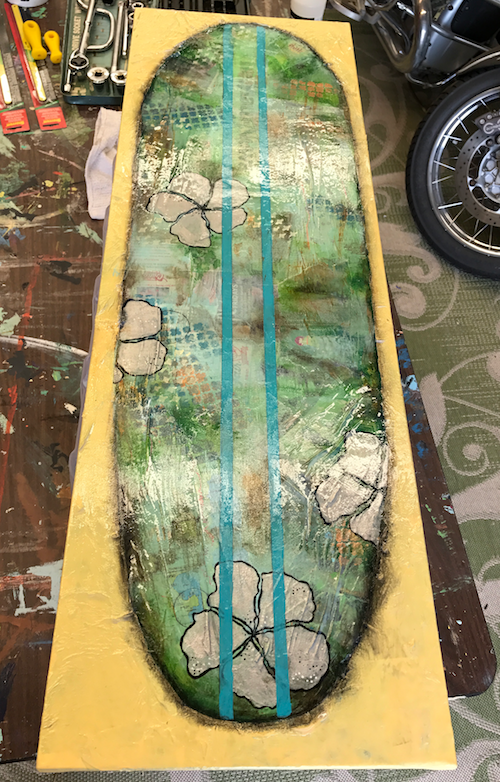
Step 4
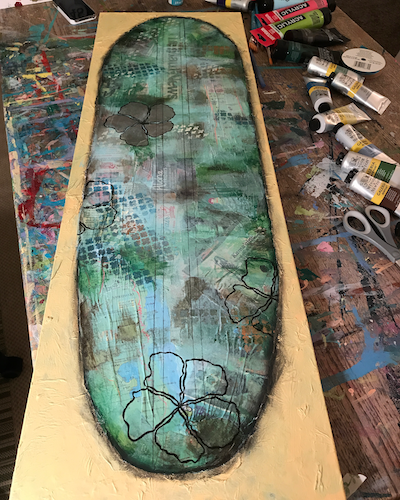
I now add in my surfboard stripes.
I used washi tape to block in the line then laid my ruler on top to define my pencil line.
This stage was the hardest for me because straight lines aren’t my thing. 😉
Gratefully, I had help mapping out where to layout these lines (Shoutout to my mom….an excellent artist and visualizer!)
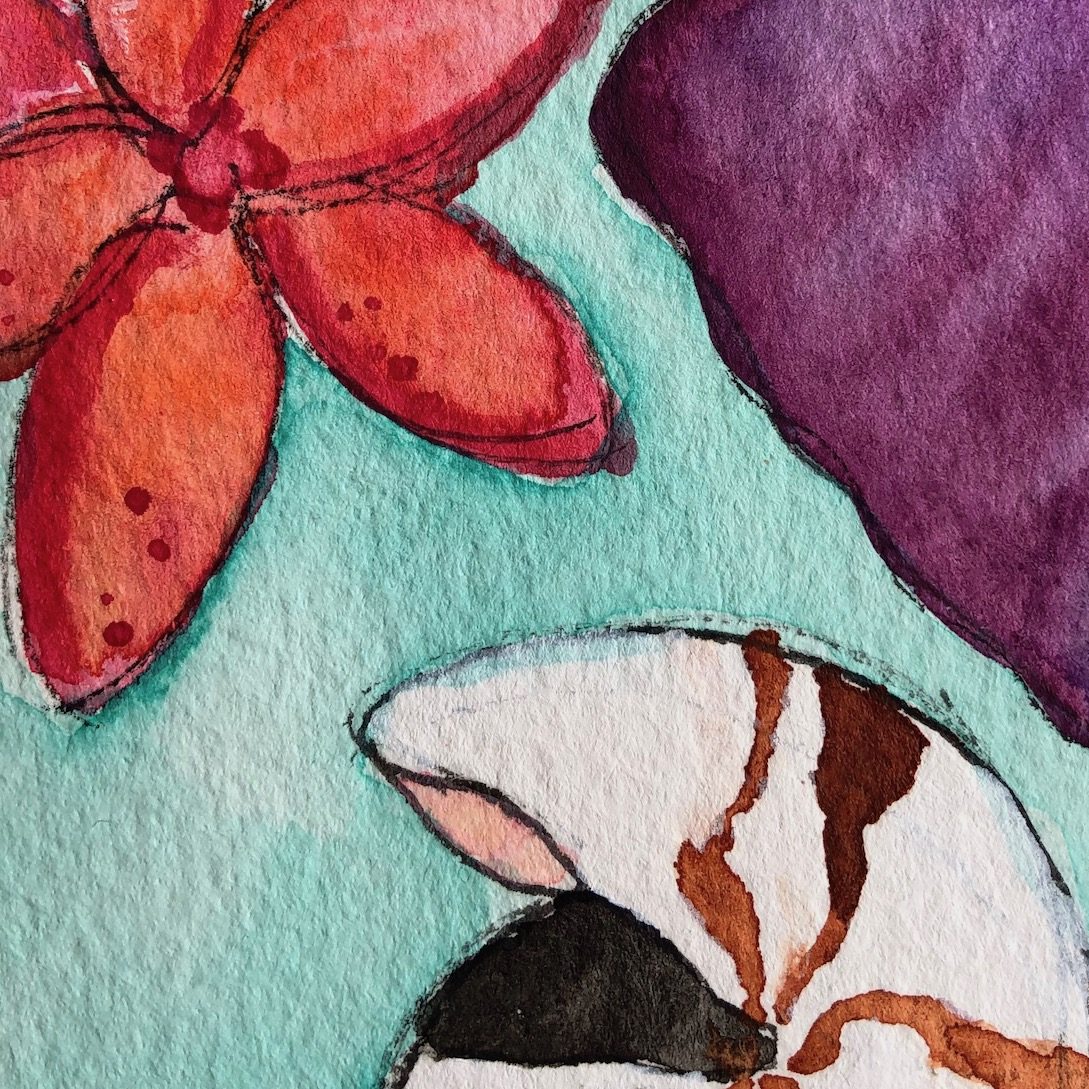
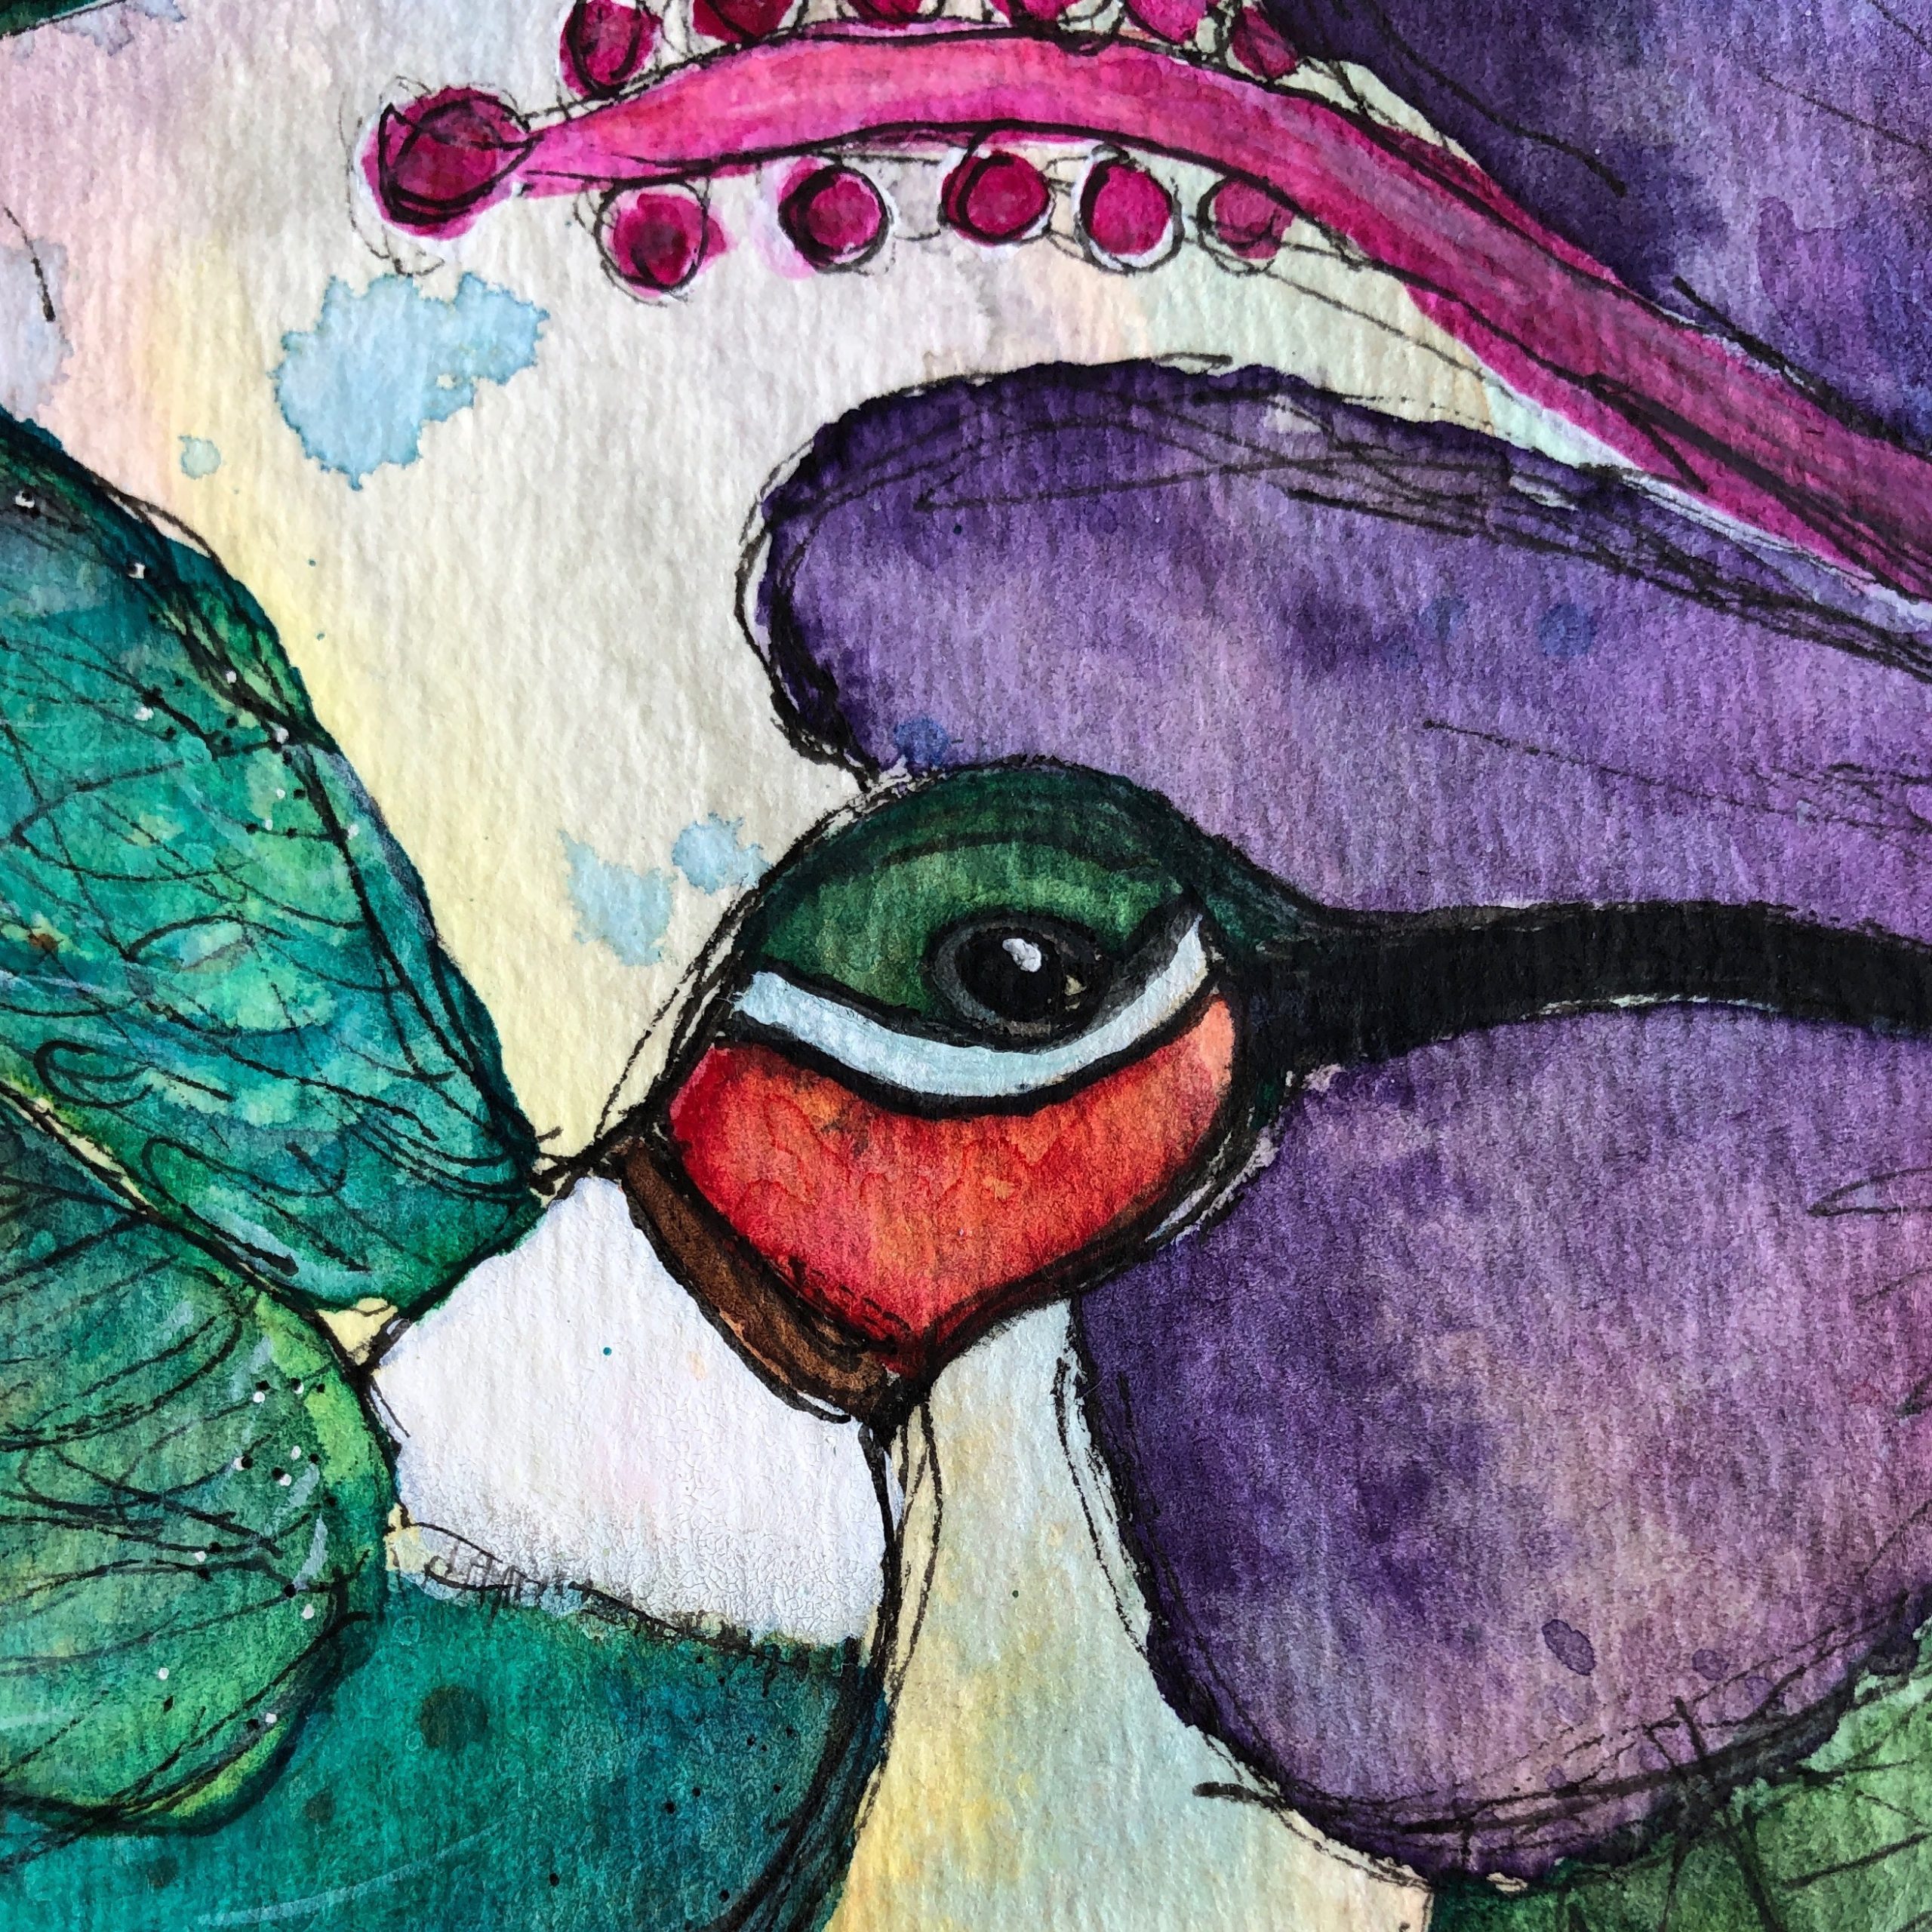
Hibiscus shapes are added with a Prismacolor Black pen in size 1.5. I made them silver, with Winsor and Newton acrylic paint.
Step 5….Almost done!
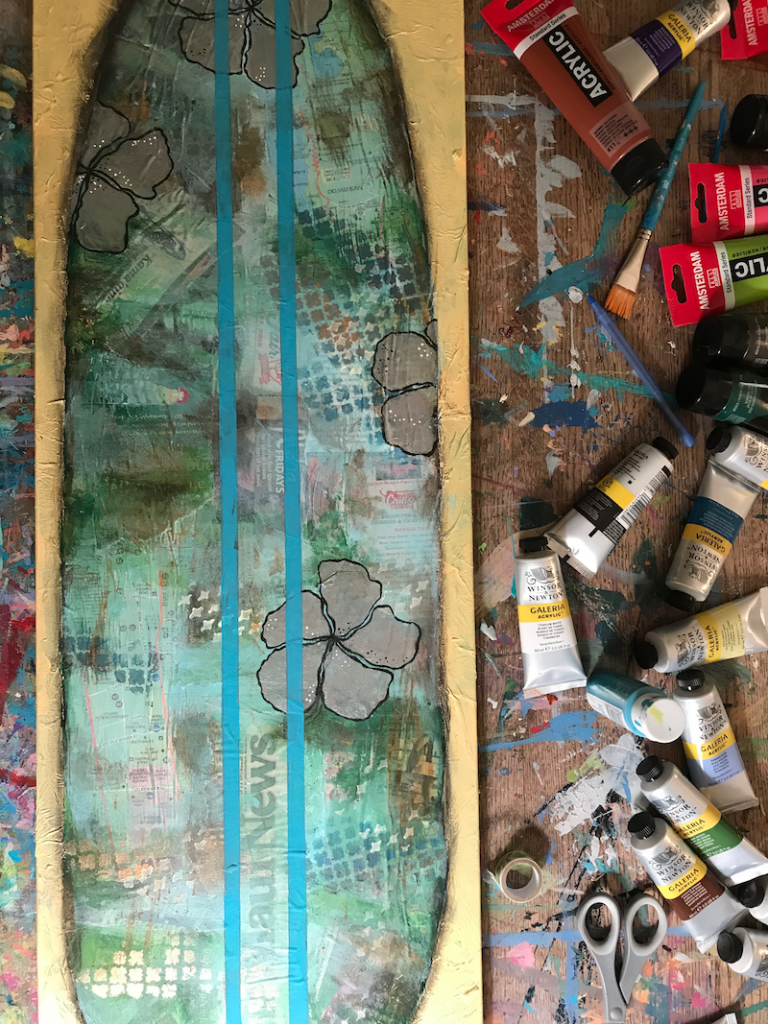
Surfboard lines are painted in, extra embellishments and painting is added as another layer to the painting in gold and black.
I added some splatters and hand drawn pencil circles. I spend time just looking at the painting and seeing what it tells me to add. It tells me, usually. Otherwise I will walk away for a day and let it rest and then come back to it.
A secret note:
If I ever keep trying to avoid “ruining” an area with paint or trying to protect a portion of the painting, that is keeping it “too precious” and prevents the full creative process from unfolding….so at that stage I will usually cover that little special area with a splotch of paint to keep myself from avoiding it and treating it with too much restriction.
I did that in the Lahaina map portion of the painting so I went in and added a bit more painting to that area and was happy with the result in the end.
Final Step: VARNISH and Finish
This was too big of a piece to varnish in my studio, so I had to take over the garage to varnish this painting.
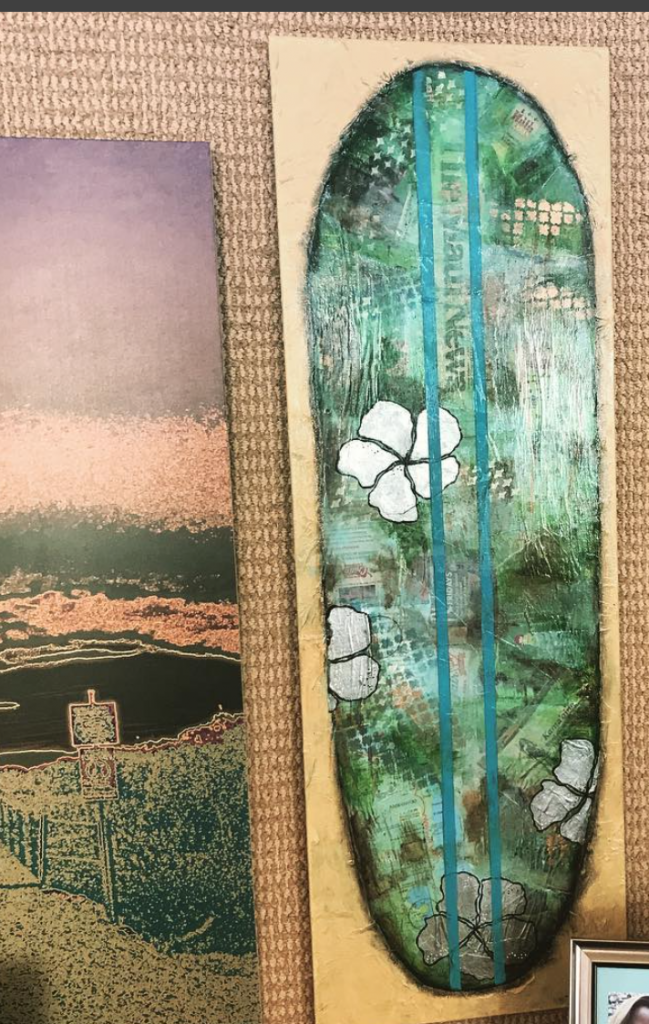
Completed Piece!
Hanging in it’s new home….
SUPPLIES USED:
Winsor and Newton Acrylic Paint
Liquitex White Gesso
Charcoal Pencil
Amsterdam Acrylic Paint
Faber Castell Black Archival Ink Pen


Awesome process Mika ! One of my on line art “mentor” (for lack of a better word) is Surfboard artist Drew Brophy ( not sure if you’re familiar).
Thank you so much, Marty! I appreciate your wonderful feedback!:) I absolutely know who Drew Brophy is! His wife Maria is an art marketing/licensing genius and I consider HER an online mentor. 😉 I am loving painting these surfboards. It feels great to be connected to the ocean with each paint stroke….and to my love of Hawai’i. Thank you always for your kind support and friendship. ALOHA! Mika