
How To Wrap Art for Shipping
How To Wrap Art for Shipping
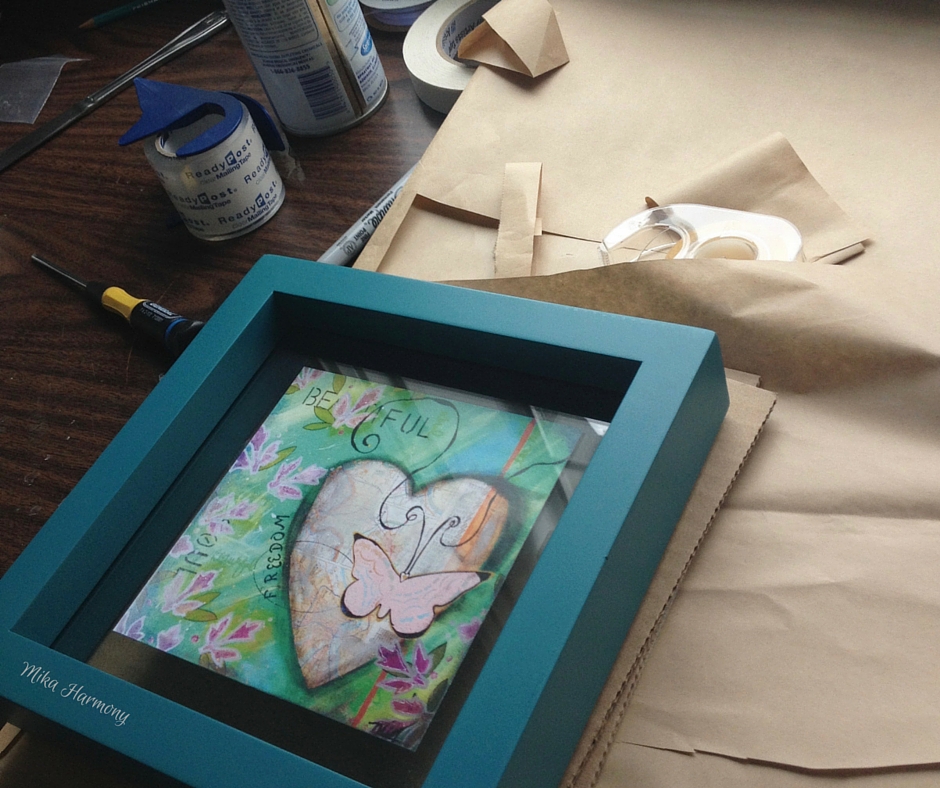
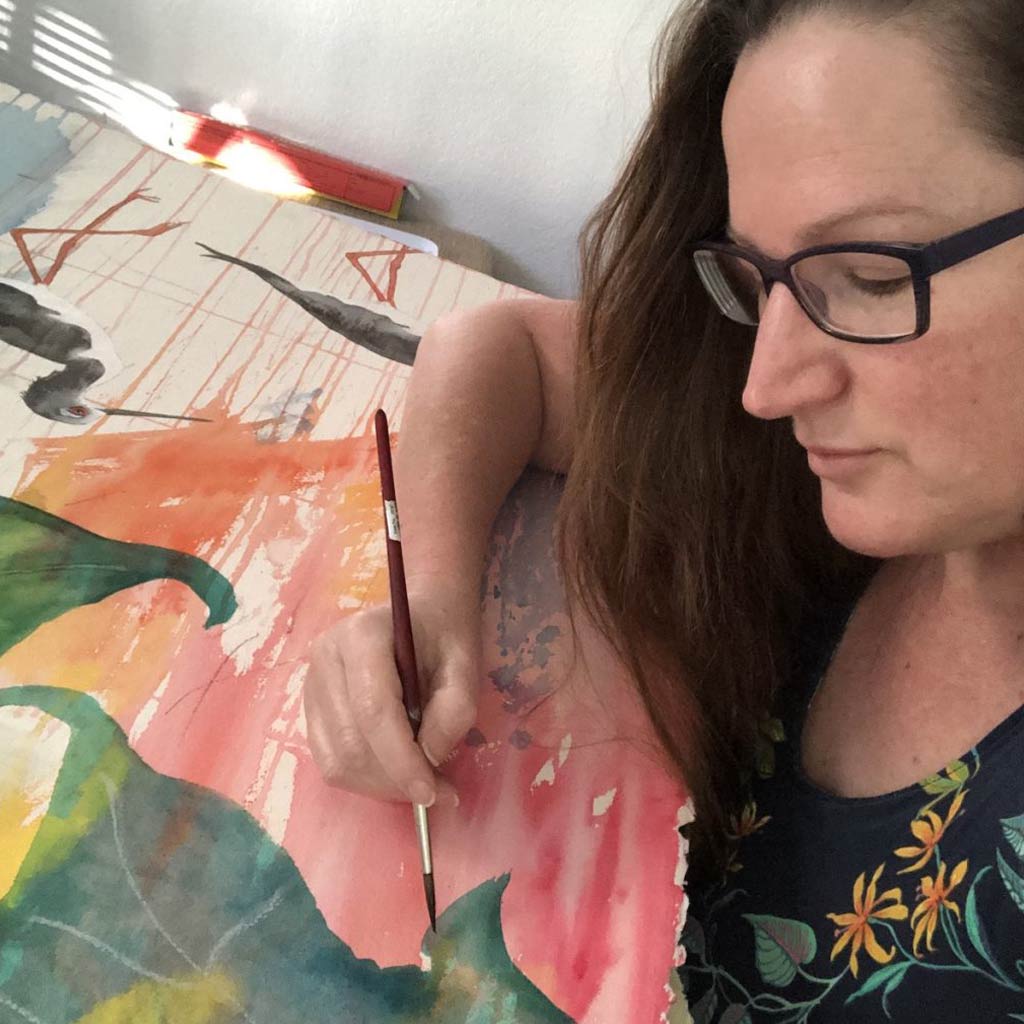
I recently framed a few orders, and gifts, of my art that needed to be shipped.
I thought it would be helpful if I shared a few of my tips and how to info on how to wrap your own art gifts (framed art and original art on canvas) for shipping.
First things first: Frame your art. (if you need help with that, please let me know in the comments below and I will create a blog post just for you!)
Next steps, collect the following supplies:
- Cardboard, any clean, fragrance-free recycled box is fine (as in, don’t use a dirty pizza box…unless your intended recipient also collects pizza boxes, and if they do, I need to meet that person.)
- Brown Kraft wrapping paper; such as this one or this one
- Artist’s Tape (used for matting pics, and keeping things from sticking permanently). I get mine from Aaron Brother’s. You can find it HERE.
- Regular packing tape
- Large pair of sharp scissors (those kid-sized scissors from the Dollar Store, just aren’t going to….(brace yourself)…cut it. Truly, pun withheld, they truly won’t do the trick for our cutting tasks.
- Random bits of bubble wrap, sized about 2x’s larger than your frame
- Straight edge/ruler
- pencil or pen
- For Original paintings, be sure to add GLASSINE PAPER in a roll to your list
Prepare your work surface, lay out your supplies and framed art.
I like to work in my studio, on a large fold out banquet table. The kitchen table is also a great option. If you are tight for space, the floor works well too.
How To part. AKA: How I like to Wrap Framed Art/Original Art on Canvas for Shipping
- For Framed Art:Cut out two pieces of brown kraft paper, about 2x’s the size of the frame. You will wrap one sheet across the front to back of the frame, and a second sheet to wrap the sides of the frame. Essentially it is just a loose package wrap around your frame to protect all frame surfaces from dings and dust.
- Use the Artist’s Tape to adhere the brown kraft paper to the frame, or to itself, depending on how much extra you cut.
- See Photo example below (using glassine paper, but it’s the same principle)
- -For ORIGINAL ART- on Canvas; Do not use the brown kraft wrapping paper. Cut out two pieces of glassine paper, about 2x’s the size of the frame. You will wrap one sheet across the front to back of the frame, and a second sheet to wrap the sides of the frame. Essentially it is just a loose package wrap around your frame to protect all frame surfaces from dings and dust.
- -For ORIGINAL ART-Use the Artist’s Tape to adhere the glassine paper to itself. Make sure you have enough glassine paper so NONE of the Artist’s Tape touches the canvas.
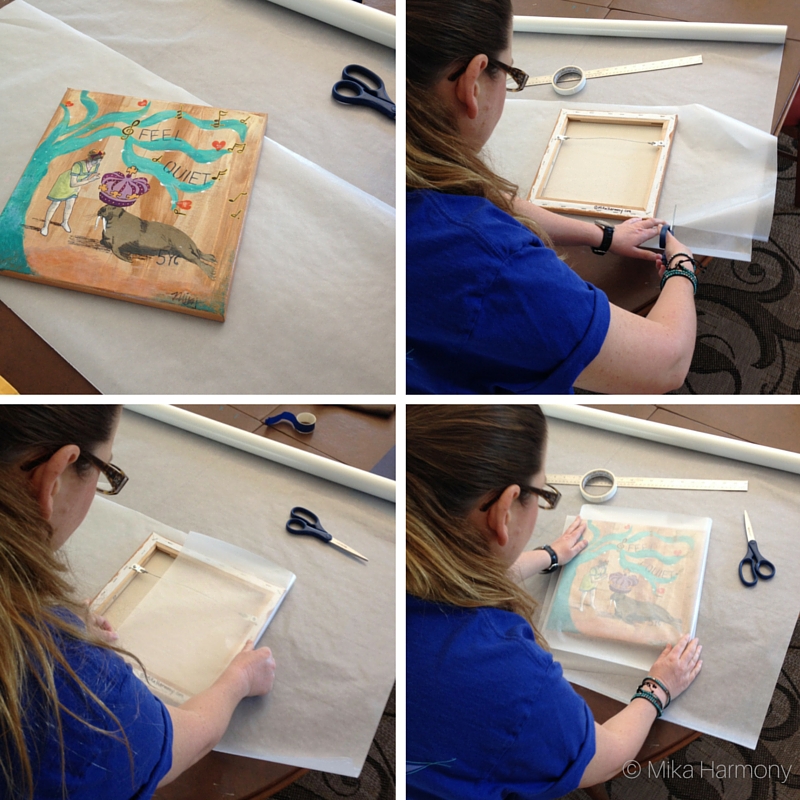
First Step: Wrap canvas in glassine paper or Wrap framed art in brown kraft paper (the brown kraft paper is thicker and works best for framed pieces)
Continue Below for framed or original canvas art:
- Use your ruler and trace the front of the frame/canvas on to the clean cardboard. Do this twice.
- Cut out the cardboard slightly larger (maybe a 1/4″ all the way around larger) as your frame size, keeping both of the cardboard cutouts (one for front of frame/canvas, one for back of frame/canvas) close to the same size. (You are going to sandwich the art in between the two pieces of cardboard.
- Place one carboard cutout flat on your table, laying slightly off the edge (only by an inch…it’s going to make it easier to tape together. Don’t have the frame hanging precariously off the table, though). If you are working on the floor, just lay the one cardboard cutout flat on the floor.
- Place your framed art/canvas on top of that first cardboard cutout
- Lay your second piece of cardboard cutout on top of the frame so that it all matches up for your frame/cardboard sandwich.
- You are almost done, more than halfway there. It’s almost time for a snack.
- Grab your packing tape (or artist tape is fine too) and lay a strip of tape running from the top of the cardboard, down the front, to the edge of the table, where you can now carefully flip your cardboard sandwich around and have your tape run to the other piece of cardboard.
- Add more tape to create a secure package so nothing wiggles in that sandwich.

Art sandwiched between the two pieces of cardboard.
- Now grab your bubble wrap and cover the cardboard sandwich, using your packing tape to hold it all together. (a bubble wrap envelope that fits the entire sandwiched art will work as well)
- Bingo! You are done
- Grab a Priority Mail box from your USPS, grab your roll of brown Kraft paper to fill in any loose spots in your box, and you are ready to send your framed art gift!
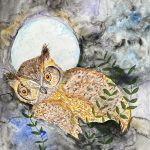
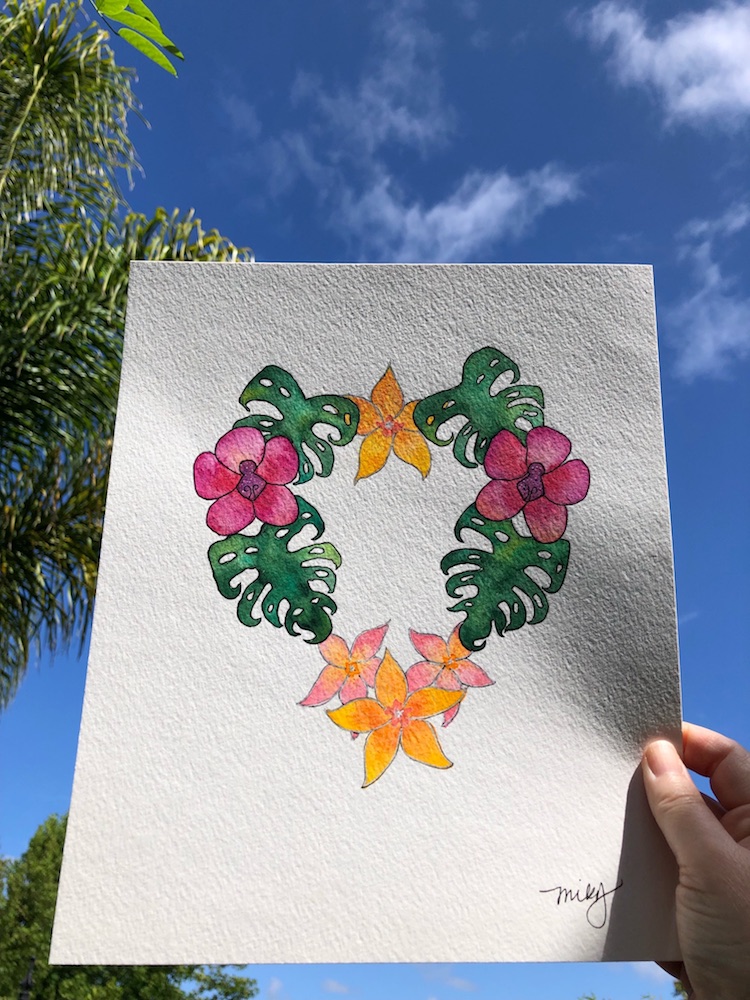
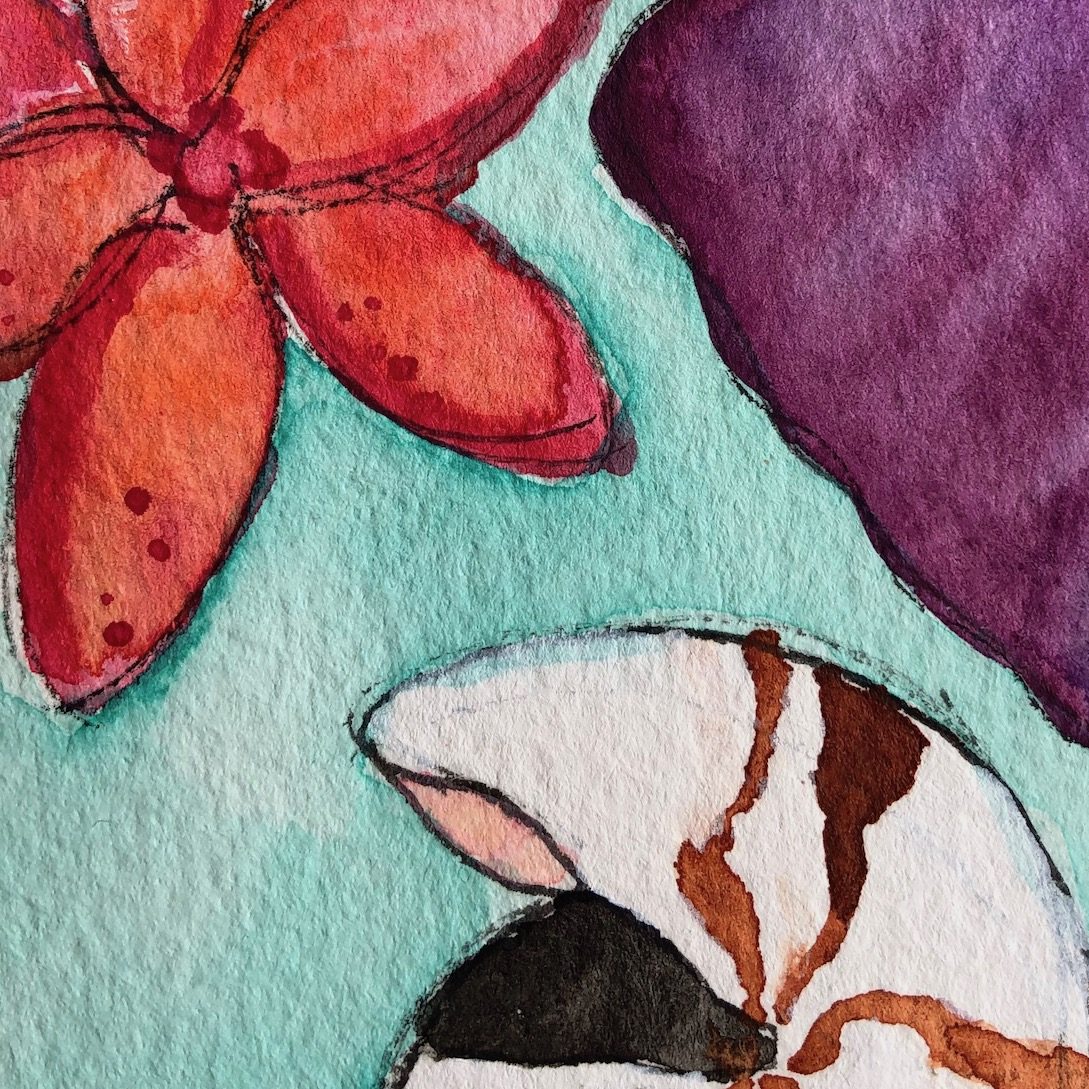
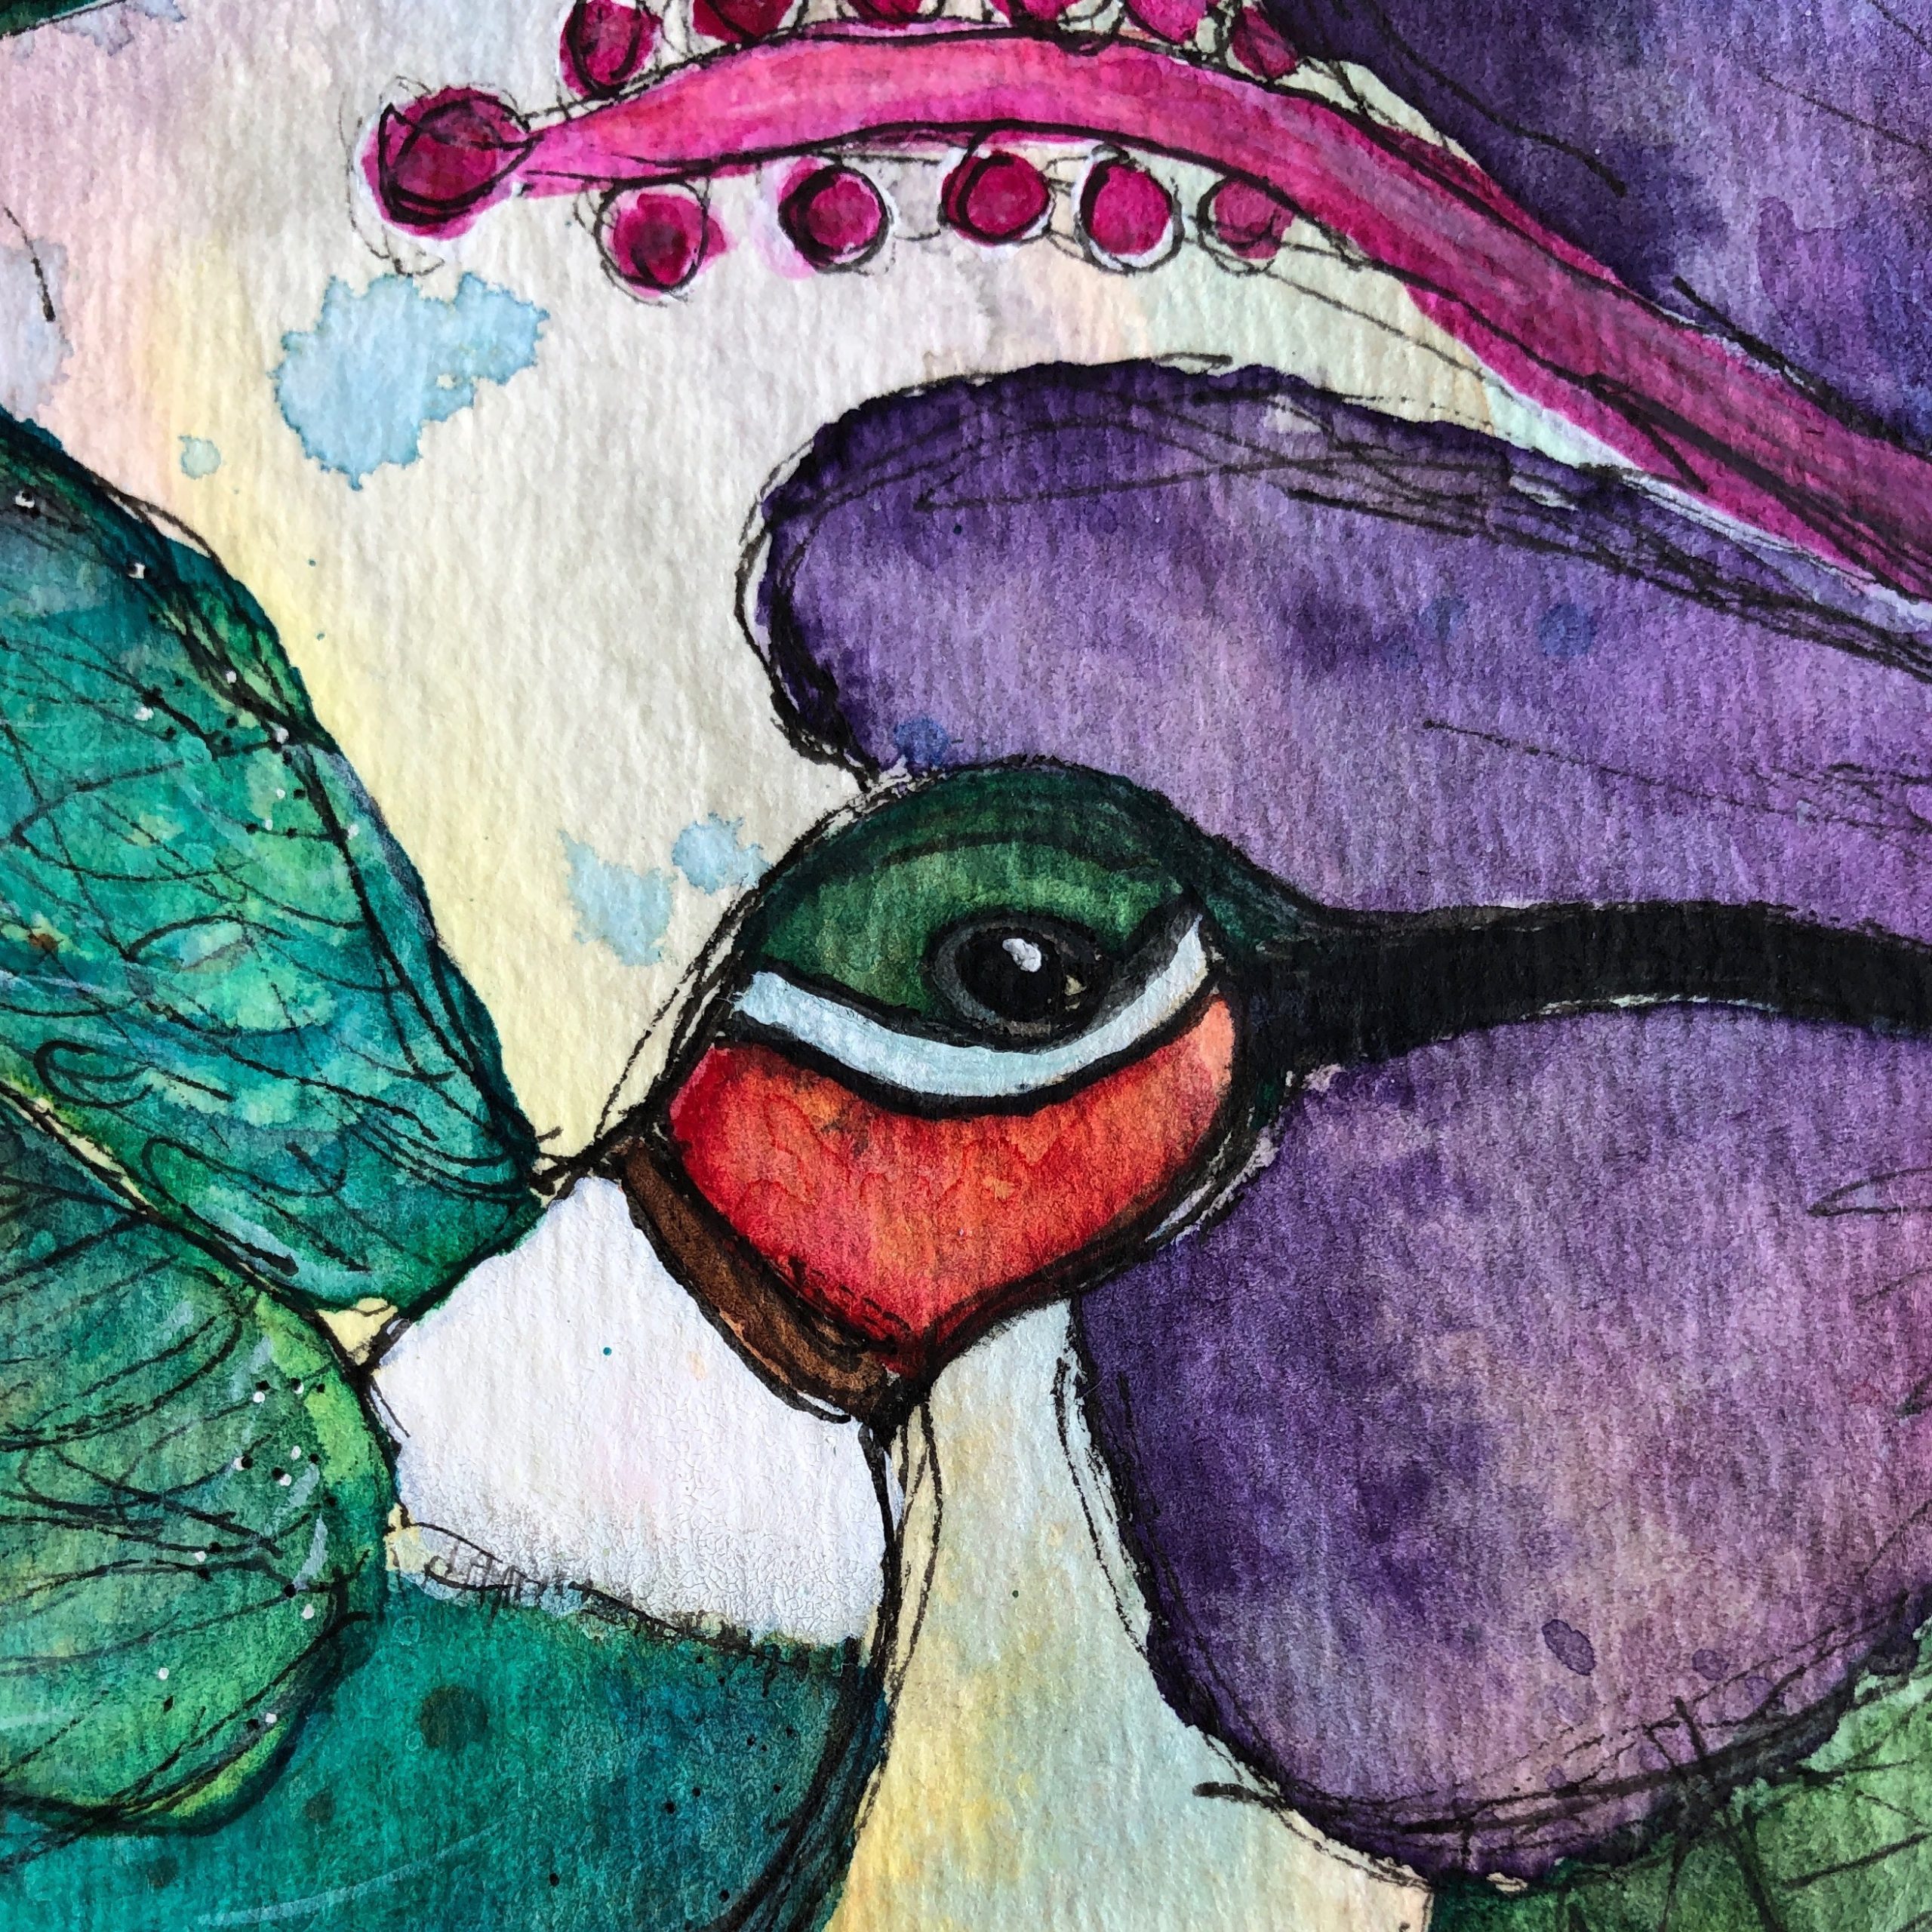
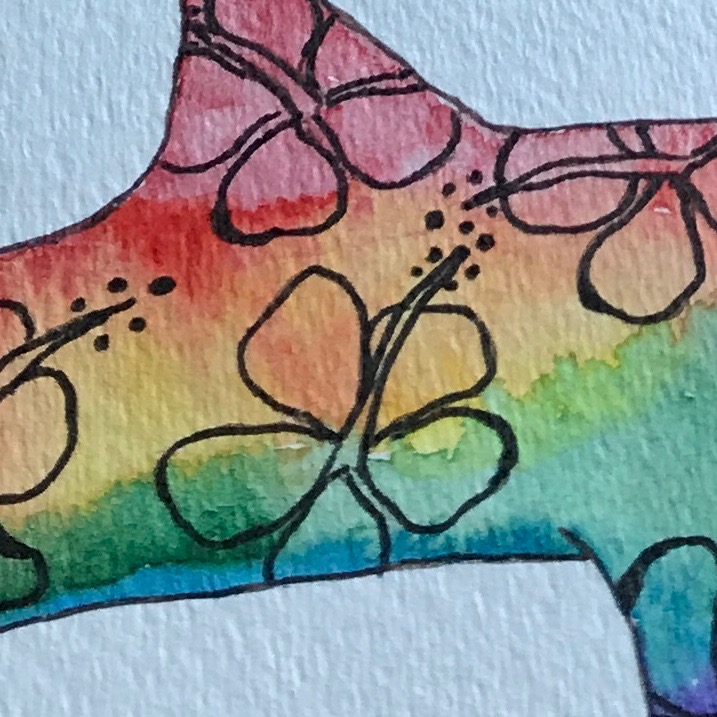
If you are looking for any art gifts, be sure to check out some of my new Summer Prints, and Original Canvas art shown above, HERE and HERE.


