
How to Start A Watercolor Painting
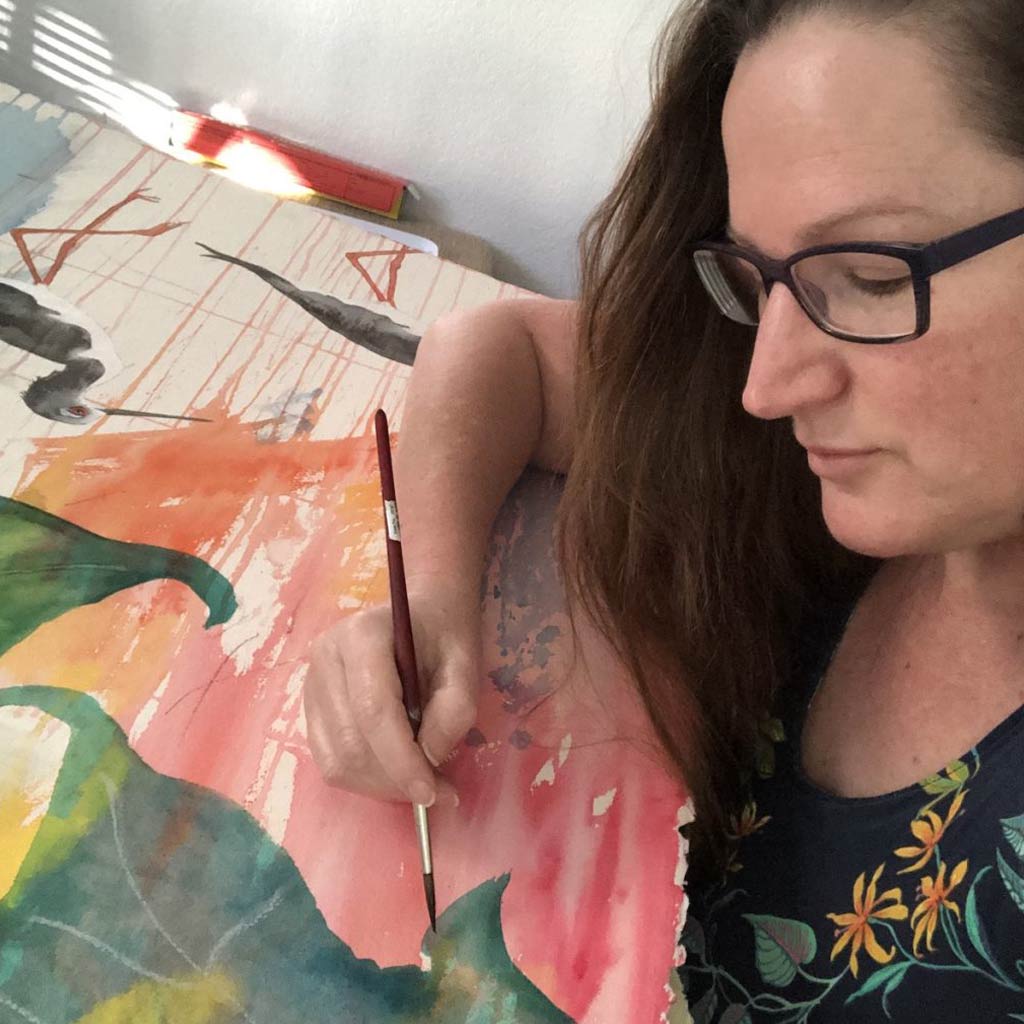
A Behind The Scenes Moment in Watercolor Painting.
Here’s a quick behind the scenes view of my watercolor painting process. I like to start my paintings with laying out a few colors to frame my upcoming subject.
My favorite way to do the background is by using the wet in wet technique, which means I wet my paper first, and then apply my watercolor. Take a look at the behind the scenes video as I show you the view over my shoulder in my art studio. You will see me lay in colors that explode on the paper for my start of a painting.
Why I Paint In Watercolor
It’s always a mystery how the paint will explode once my brush touches the paper and the color will spread across the wet page. It’s one of the reasons watercolor is such a great medium for painting fish and sea life. The colors of nature and the sea are quite forgiving and allow for a dreamy guess at color combinations.
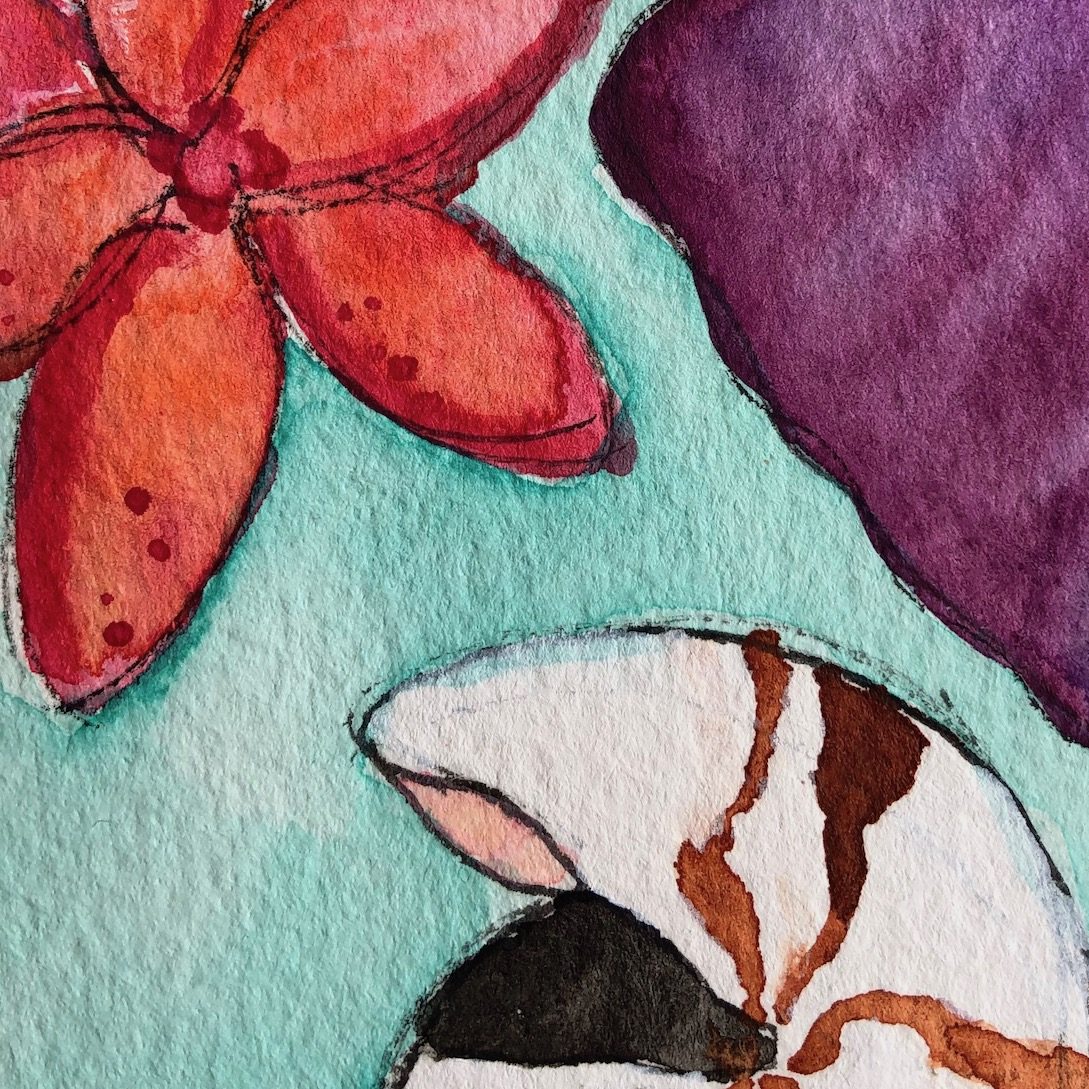
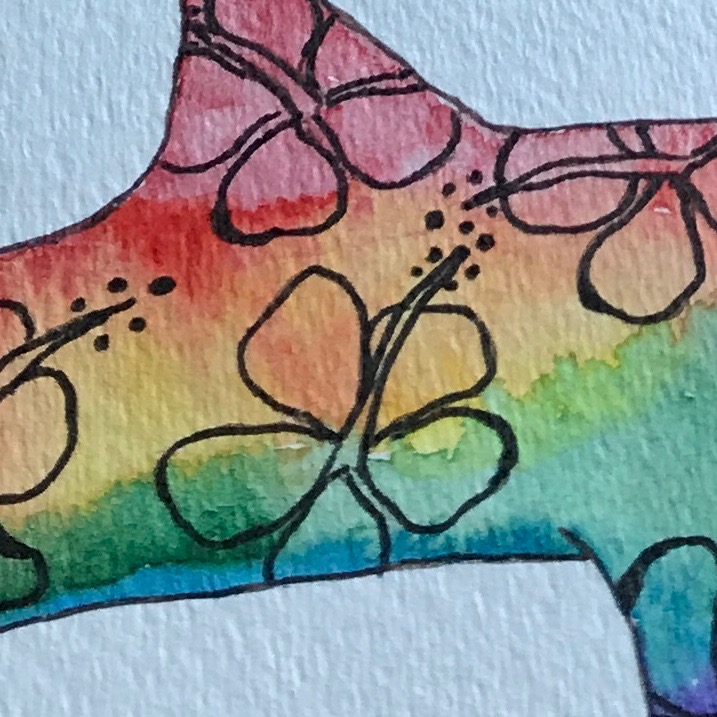
A Finished Piece
Here’s one of the finished pieces using the wet in wet technique. It’s my Lilikoi Sunrise Seahorse, inspired by the tropical colors of Maui. Growing up on Maui is something I hold in my heart, and hand via my watercolor brush, every day. This watercolor background was started with several shades of burnt orange, yellows and reds.
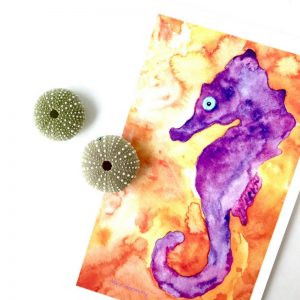
Lilikoi Sunrise Seahorse
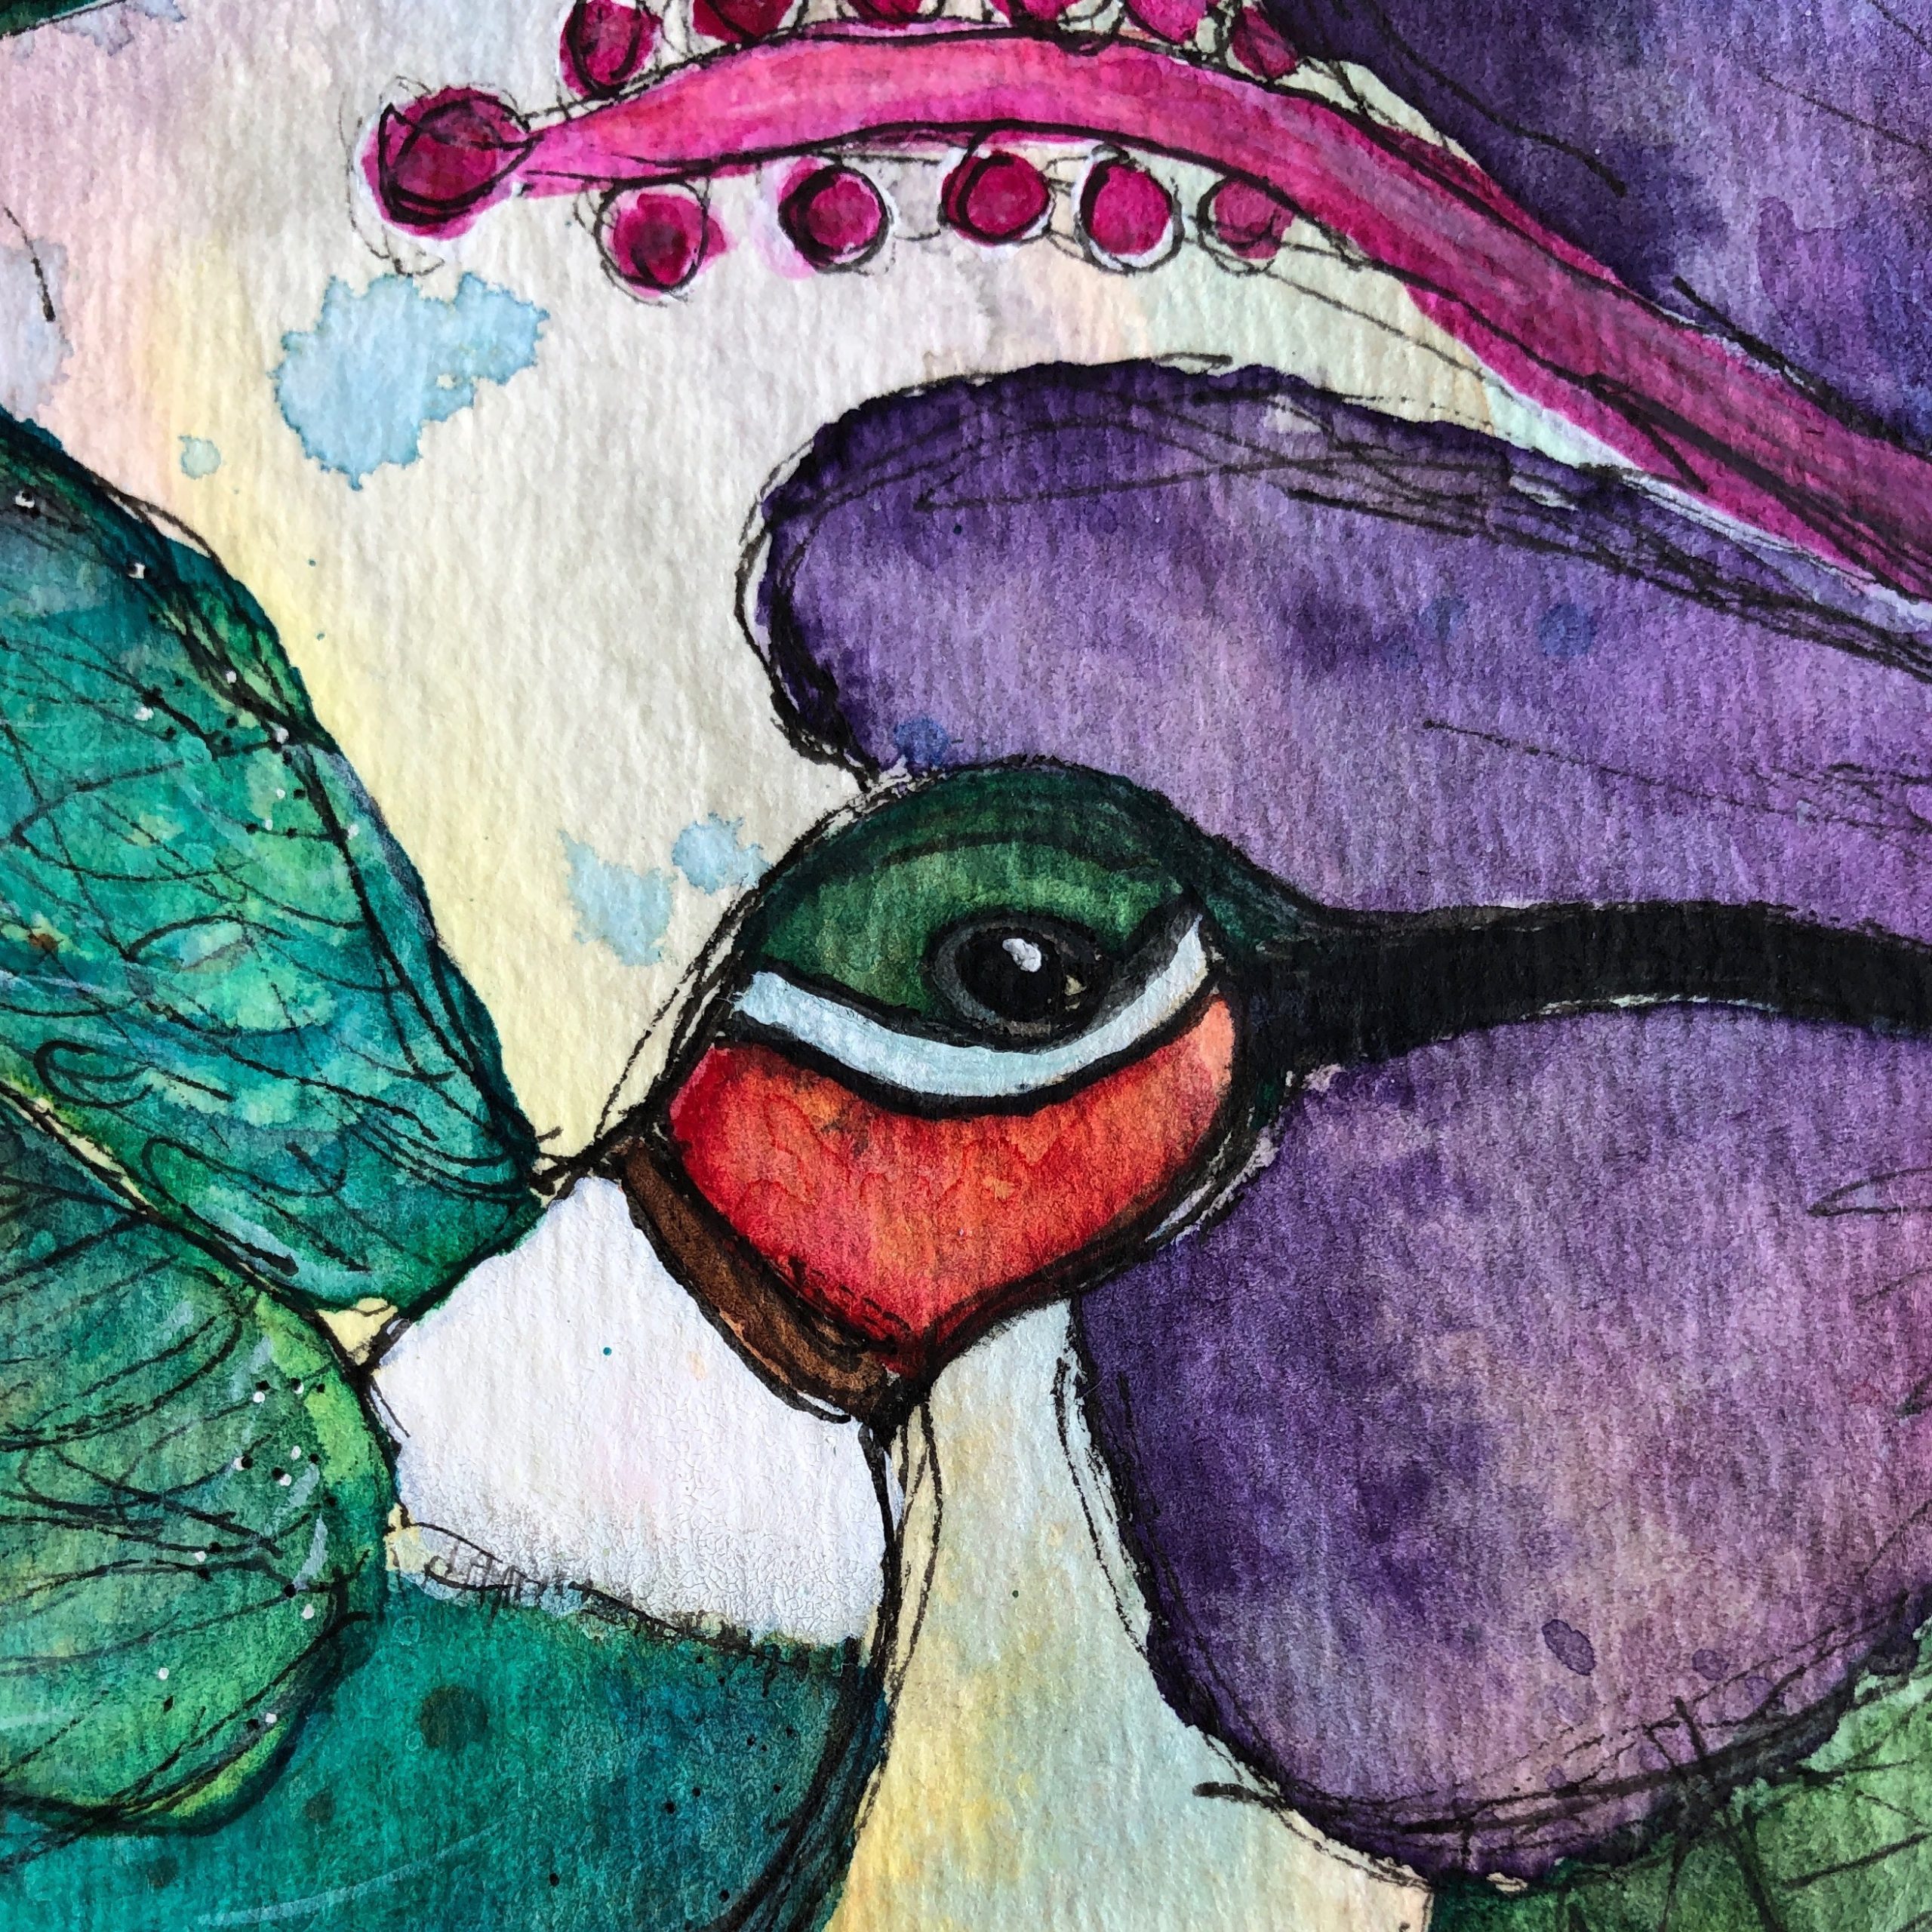
Important Tips
There’s a happy medium between adding too much water to your page and not enough. If you add too much water to your page, it might buckle and can also dilute your colors too much. Too little, and the colors won’t bloom and spread as nicely.
Although, even with those potential negatives, you can still turn those into really cool paintings. Many of my favorite pieces of art started out as a painting I thought had a “mistake”. (<— yes, those quotes are intentional. 😉 )
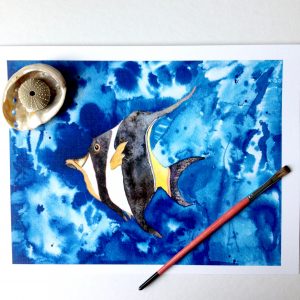
Maui Moorish Idol:
Background started with different shades of blue and leaving white space as a “color” choice.
Would you like More Videos?
Would you like to see more of a step-by-step video tutorial from me? Let me know in the comments below…in the meanwhile, I will invest in a tripod and work on shooting awesome videos for you.
Until then…
Aloha, mika


